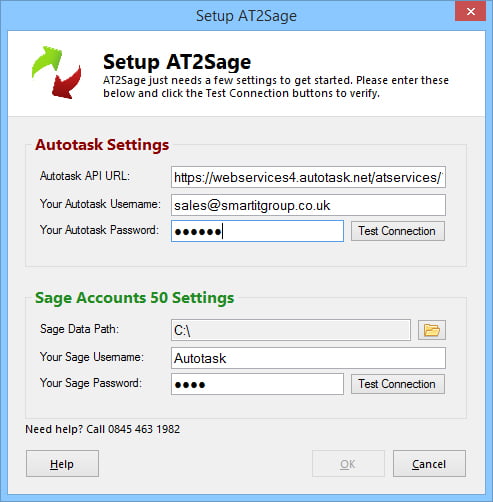
When first opening AT2Sage you will see the Setup AT2Sage window below:
Setup Autotask Connection
Enter your API Autotask username and password in the boxes provided, then click Test Connection.
Setup Sage Connection
Enable 3rd Party Integration
You can run AT2Sage without using the Send To Sage functionality. However, AT2Sage does require Sage’s SDO (Sage Data Objects) Engine to be installed and enabled in order to send invoices to Sage Accounts.The SDO is automatically installed when you install Sage Accounts but needs a special Serial Number and Activation Key before it can be used. These details can be entered from within Sage Accounts by going to Tools > Activation > Enable 3rd Party Integration. To obtain these details phone Sage on 0845 111 6666 and tell them that you want a Serial Number and Activation Key to enable 3rd party integration. Currently Sage does not charge for providing these details.
Connect AT2Sage to Sage Accounts
Enter the path to your Sage data files by clicking the folder icon button. For help finding your Sage data path see the Sage Data Paths article in the left menu.
Enter your Sage username and password, then click Test Connection. It is recommended that you create a new user account in Sage Accounts for AT2Sage to use.
Once you have entered your Autotask and Sage credentials, and both connections have tested successfully, click OK to load AT2Sage