To send your invoices to Sage Accounts 50 simply click the Send To Sage button.
AT2Sage locates accounts in Sage Accounts 50 by matching the Account Code in Sage Accounts with the Account Number in Autotask. If AT2Sage cannot find a customer with a matching Account Numbers it will prompt the user with a dialog like below:
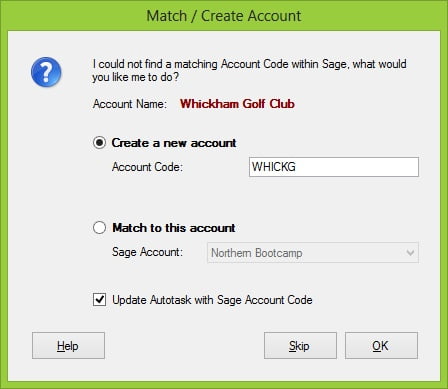
This could happen for one of two reasons.
- The account does not exist in Sage Accounts; In this case select the first option ‘Create a new account’ and enter an Account Code. AT2Sage will recommend a code for you but you can use your own if you prefer. If you would like AT2Sage to save the Account Code to Autotask (to prevent AT2Sage asking the next time) tick the box ‘Update Autotask with Sage Account Code’ and click OK.
- The account exists but Account Numbers do not match; In this case select ‘Match to this account’ and choose the Sage account from the drop down list. If you would like AT2Sage to save the Account Code to Autotask (to prevent AT2Sage asking the next time) tick the box ‘Update Autotask with Sage Account Code’ and click OK.
Once all the invoices have been sent to Sage Accounts, AT2Sage will ask if you would like to update Autotask with a message box like below:
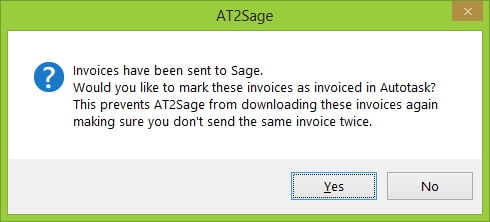
It’s a good idea to click Yes here, this will prevent AT2Sage from downloading the same invoice again and sending it twice to Sage Accounts. If you click Yes AT2Sage will also save the Sage Invoice number to Autotask.